Artisan bread is more than just food — it’s an art form. With its focus on high-quality ingredients, time-tested techniques, and a love for the craft, artisan bread stands apart from the mass-produced loaves you find at the supermarket. If you’re a beginner, don’t be intimidated by all the jargon — breadmaking is accessible to everyone with the right knowledge. In this guide, we’ll break down the essential components and steps of making artisan bread, so you can start your journey into the world of baking.
Key Ingredients
To make great artisan bread, you need just a few basic ingredients, but their quality matters greatly:
- Flour: The foundation of any bread. Most artisan bread recipes use bread flour, which has a higher protein content, giving the bread its structure.
- Water: Water activates the flour and yeast, creating the dough. The temperature of the water is important — warm water activates the yeast, but too hot water can kill it.
- Yeast: This tiny organism is responsible for making the bread rise. There are two main types used in artisan bread: active dry yeast and fresh yeast. Both work similarly but have different preparation methods.
- Salt: Not just for flavor, salt controls the fermentation process and strengthens the dough.
- Optional ingredients: Depending on the recipe, you might also include sugar, honey, olive oil, or other flavorings.
Tools You’ll Need
Making artisan bread doesn’t require fancy equipment, but there are a few tools that make the process easier and more enjoyable:
- Mixing bowl: To combine the ingredients.
- Dough scraper: To handle the dough more easily.
- Baking stone or Dutch oven: These tools create the perfect environment for baking your bread, promoting an even heat distribution.
- Sharp knife or razor blade: For scoring your dough before baking — this helps control the expansion of the bread as it rises in the oven.
The Breadmaking Process
- Mixing: Combine your ingredients in the bowl. This stage is all about hydration — make sure the flour is fully hydrated before proceeding.
- Kneading: Knead the dough by hand or with a stand mixer until it becomes smooth and elastic. This helps develop the gluten, giving your bread its structure.
- First Rise (Fermentation): Place the dough in a lightly oiled bowl, cover it, and let it rise. This can take anywhere from 1-2 hours, depending on the temperature and yeast activity.
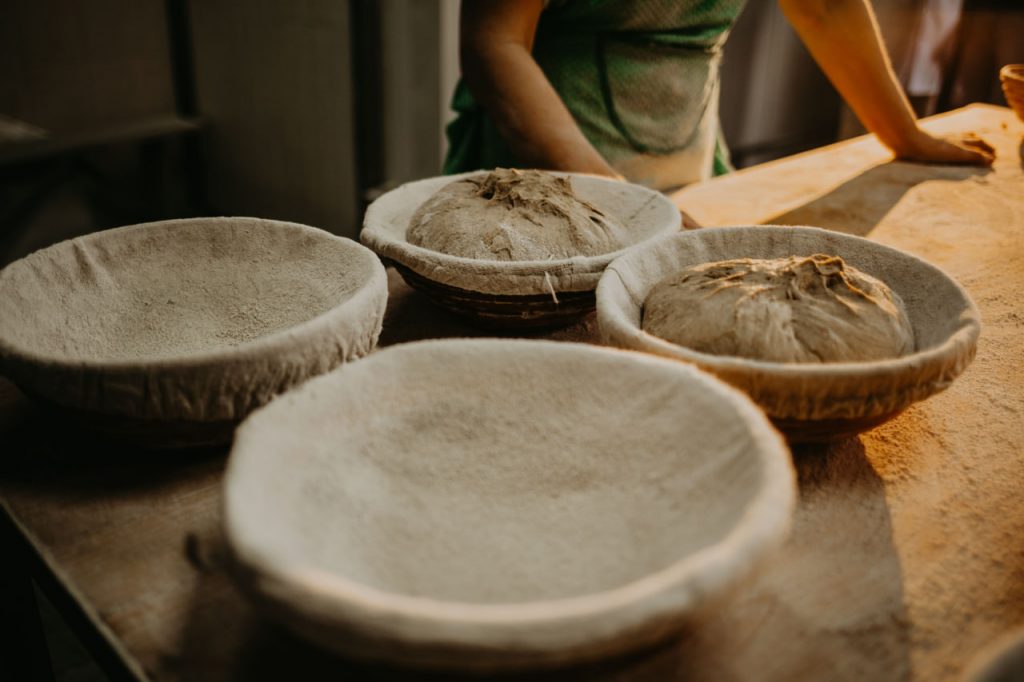
- Shaping: Once the dough has doubled in size, turn it out onto a floured surface, and gently shape it into a loaf. Be careful not to deflate the dough — you want to keep the air bubbles intact.
- Second Rise: Let the shaped dough rise again for about an hour, allowing the dough to rest and expand.
- Baking: Bake in a preheated oven at a high temperature to ensure a crispy crust and soft, airy interior. The ideal baking time will depend on the type of bread you’re making.
Tips for Success
- Patience is key: Artisan bread takes time, but the end result is worth it. Don’t rush the fermentation or baking stages.
- Experiment with flavors: Once you’re comfortable with the basic recipe, try adding herbs, seeds, or even fruits for added flavor.
- Temperature matters: Pay attention to the temperature of your water, room, and oven to ensure optimal results.
Making artisan bread from scratch is a rewarding and creative process. With just a few ingredients and some patience, you’ll soon be enjoying homemade bread that tastes better than anything you can buy at the store.
Ready to get started? Join our Artisan Bread Craft workshops and learn more about the art of baking with expert guidance!